ReactNativeで一番簡単に広告を出すには、Admobがおすすめです。今日はAdmobを使って広告を出す方法を紹介していきます。
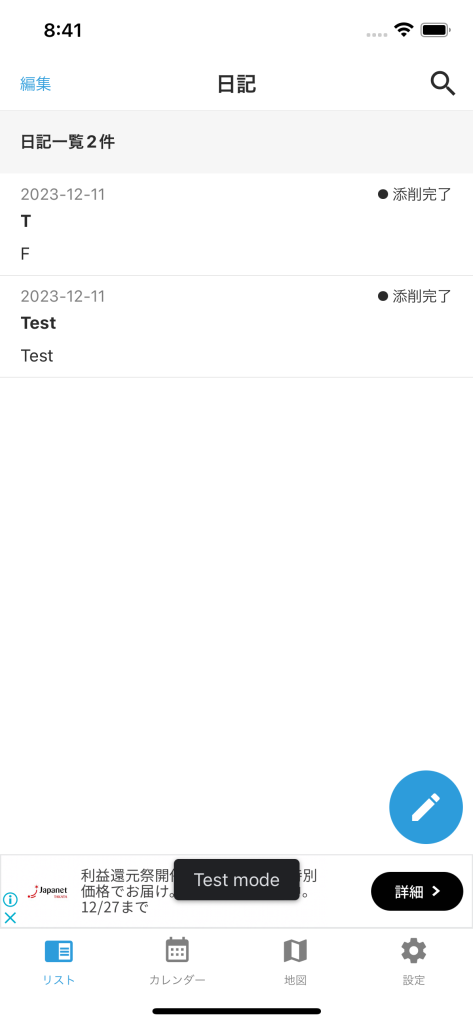
ちなみに、私が開発しているLangJournalでは下記のような下部バナーとアドリワードを出しています。

react-native-google-mobile-adsを使います。
ターミナル
yarn add react-native-google-mobile-adsapp.json
{
  "expo": {
    "plugins": [
      [
        "expo-build-properties",
        {
          "ios": {
            "useFrameworks": "static"
          }
        }
      ]
    ]
  },
}ここからアカウントを作成し、iOS、AndroidのそれぞれのappIdを取得します。
先ほど取得したappIdを貼り付けます。
app.json
{
  "expo": {
    // ...
  },
  "react-native-google-mobile-ads": {
    "android_app_id": "ca-app-pub-xxxxxxxx~xxxxxxxx",
    "ios_app_id": "ca-app-pub-xxxxxxxx~xxxxxxxx"
  }
}初期化をします。これはアプリを立ち上げた時に一度だけ呼びましょう。
App.json
import mobileAds from 'react-native-google-mobile-ads';

const initAd = useCallback(async () => {
    try {
       // ここで初期化する
      await mobileAds().initialize();
    } catch (err) {
      console.warn('initAd', err);
    }
  }, []);

  // 初期データの取得
  useEffect(() => {
    initAd();
    // eslint-disable-next-line react-hooks/exhaustive-deps
}, []);iOSはトラッキングの許可を取る必要があります。
app.json
  "react-native-google-mobile-ads": {
    "android_app_id": "ca-app-pub-xxxxxxxx~xxxxxxxx",
    "ios_app_id": "ca-app-pub-xxxxxxxx~xxxxxxxx",
    // ここに追加
    "user_tracking_usage_description": "関連性の高い広告を表示するためにIDをトラッキングいたします。"
}expo-tracking-transparencyを使います。
ターミナル
expo install expo-tracking-transparencyApp.jsonを追記します。
App.json
import { requestTrackingPermissionsAsync } from 'expo-tracking-transparency';

const initAd = useCallback(async () => {
    try {
      // ここに追加
      const { status } = await requestTrackingPermissionsAsync();
        if (status === 'granted') {
          console.log('Yay! I have user permission to track data');
       }

      await mobileAds().initialize();
    } catch (err) {
      console.warn('initAd', err);
    }
}, []);Admobのダッシュボードから→設定→テストデバイスから開発用端末や試験用端末を登録しましょう。ここで登録しておかないとポリシー違反でバンを喰らう可能性があります。
これで準備完了です。次からは実際に広告を出していきましょう。
 React NativeとAdmobを使用して簡単に広告を表示する方法: 広告表示(パート2)

LangJournalは、日記を書くことで英語やフランス語などの外国語を学べるアプリです。英語学習に興味がある方や、私が開発したこのアプリに関心を持っている方は、ぜひインストールしてお試しください。
LangJournalのサイトはこちら