
Webサイトとアプリの大きな違いの一つはプッシュ通知です。プッシュ通知をうまく使うとユーザが離脱しにくくなります。通知は大きく2種類あります。
①ローカル通知
②リモート通知
この記事では②のリモート通知について解説します。
 Expo+ReactNativeでプッシュ通知を活用したリマインダー機能の実装
プッシュ通知のメインの機能にexpo-notificationsを使います。expo-deviceでは実機かシュミレータか?をチェックするために使います。expo-constantsはプロジェクトIDを取得するために使います
npx expo install expo-notifications expo-device expo-constants
プッシュ通知を有効にするにはユーザから許可をもらわないといけません。下記のような画面です。
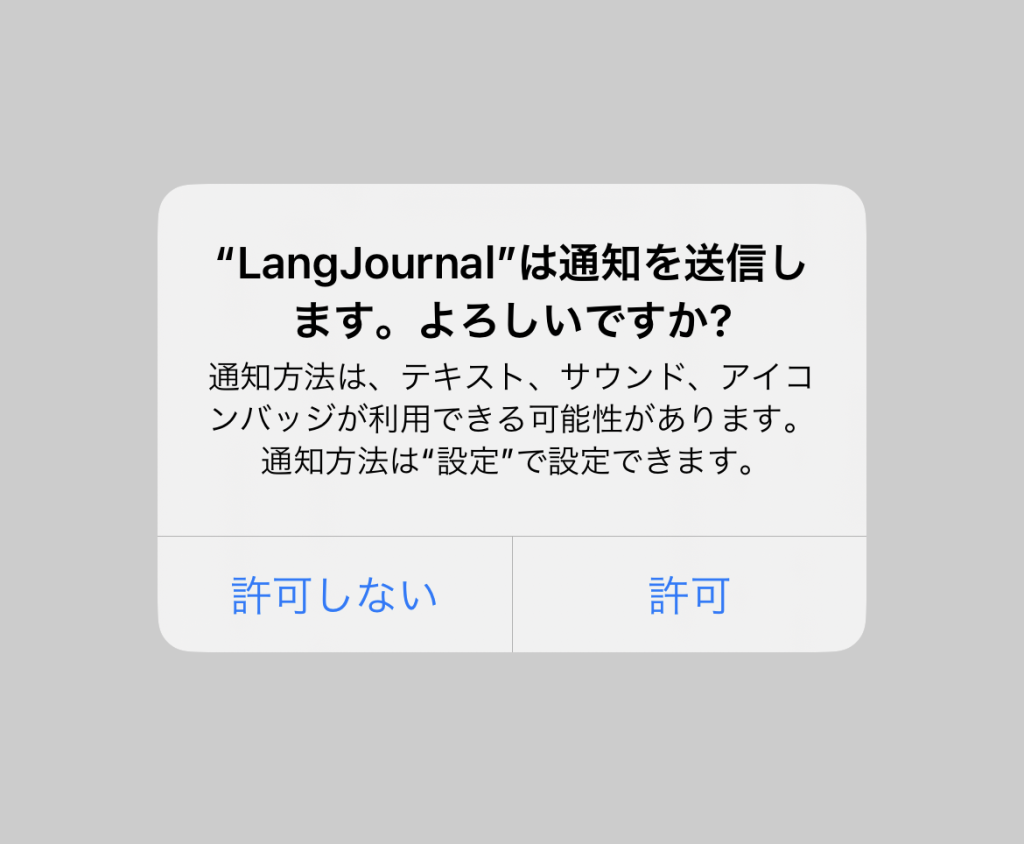
許可を押してもらうと「ExpoPushToken」が取得できます。このリモート通知するにはExpoPushTokenが必要になります。
import Constants from 'expo-constants';
import * as Device from 'expo-device';
import * as Notifications from 'expo-notifications';

 // 中略
const getToken = async () => {
  // シュミレーターの場合はnullを返す
  if (!Device.isDevice)  return null

  // 現在の権限を取得
  const { status: existingStatus } = await Notifications.getPermissionsAsync()
  let finalStatus = existingStatus

  // grantedは「許可済み」それ以外の時は、権限をリクエストする
  if (existingStatus !== 'granted') {
    // 上の画像のメッセージが表示される
    const { status } = await Notifications.requestPermissionsAsync()
    finalStatus = status
  }
  if (finalStatus !== 'granted') {
    return
  }

  // ExpoPushTokenの取得
  const token = await Notifications.getExpoPushTokenAsync({
    projectId: Constants.expoConfig.extra.eas.projectId,
  })
  return token
}
上で取得した、expoPushTokenをDBなどに保存しておきます。
上記にアクセスして、先ほど取得したtoken、title、textなどを入れて送信してみましょう。無事通知が飛べばひと段落実装は完了です。
ここまでできたら、最後にバックエンドの実装が必要です。
ドキュメントはここにあります。みなさんが実際に使っている言語を使って実装しましょう。
Expo+ReactNativeでプッシュ通知を活用したリマインダー機能の実装

LangJournalは、日記を書くことで英語やフランス語などの外国語を学べるアプリです。英語学習に興味がある方や、私が開発したこのアプリに関心を持っている方は、ぜひインストールしてお試しください。
LangJournalのサイトはこちら